It’s officially summer time- our favorite time of the year at the Get Back HQ. It’s so hard to be inside on beautiful 80 degree California days, so we decided it was time to make it feel just as summery inside as it does outside. Follow along for an easy summer DIY project that will instantly summer up any space.
What you’ll need:
- 2 (yes, 2 not 3… it’ll make sense later!) picture frames (we used 8.5 x 11 frames)
- Leaves or flowers
- Book or cardboard (that you don’t mind getting dirty)
- Bricks or something heavy! (30+ lbs)
- Scissors
Here’s what to do:
Step 1: Pick out 5-6 flowers or 8-10 leaves. Fortunately, we just had some pretty flowers delivered to the office! We also are lucky enough to be surrounded by rad plants and palm trees.

Step 2: Trim the flowers stems to about an inch or trim off the entire stem. We also picked off flower petals to use.

Step 3: Smush your flowers! Here’s where the book and heavy object come in. We used a book (the planner in the picture above) and a piece of folded cardboard.

We then closed the planner and cardboard and laid them on a table. We happened to have a heavy box (probably 40 pounds) to lay on top of them.

You should leave the heavy item on top of the leaves/flowers for a decent amount of time in order for them to get thoroughly flat. A few hours could work, but overnight would probably be best. We did it over a long weekend so they were being flattened from Thursday until Monday.
Here is the end result. Pretty flat, right?

You will need 2 picture frames. When you usually put a picture in a frame there is a back cardboard piece and the glass in front. Instead of using this back cardboard piece you will use another piece of glass (the glass from the other frame)
Step 4: This is where your creative side comes in. Leave one piece of glass in the picture frame and lay it face down on a table. You then take the flattened flowers and lay them out in an aesthetically pleasing way. This will take some trial and error to see which way looks best.
After you place the flowers, lay the second piece of glass on top. You then close the “tabs” on the picture frame. (If the tabs aren’t big enough, you can hot glue the edges of the two pieces of glass so they stay in the frame.)

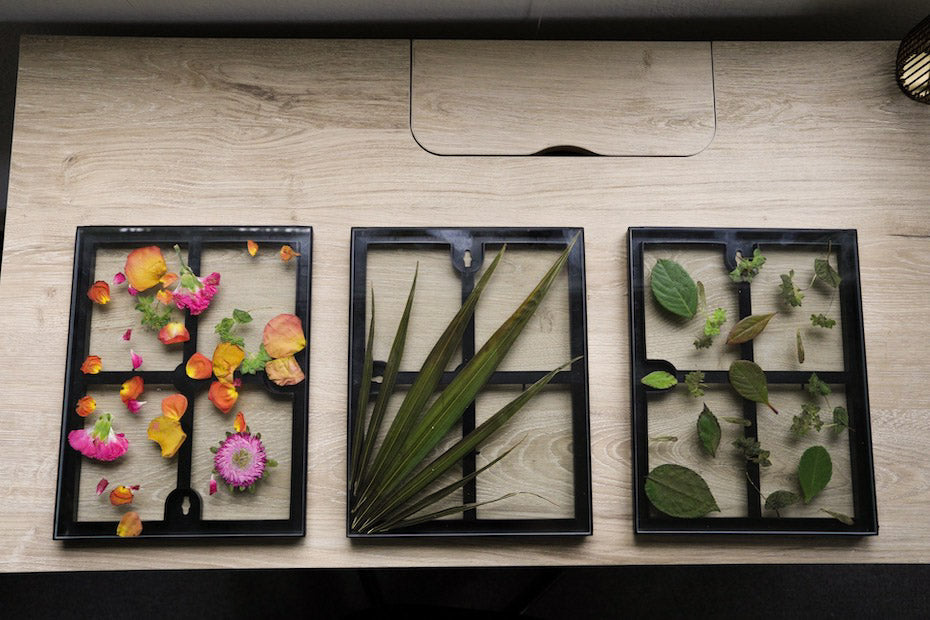
We repeated this process 2 more times with palms and leaves!
Done! Now your space can be nature-filled all summer long.
Here are our end results
If you make one, we wanna see! Snap a picture and tag @getbacknecklaces on your IG story.
Can’t wait to see what you create!

